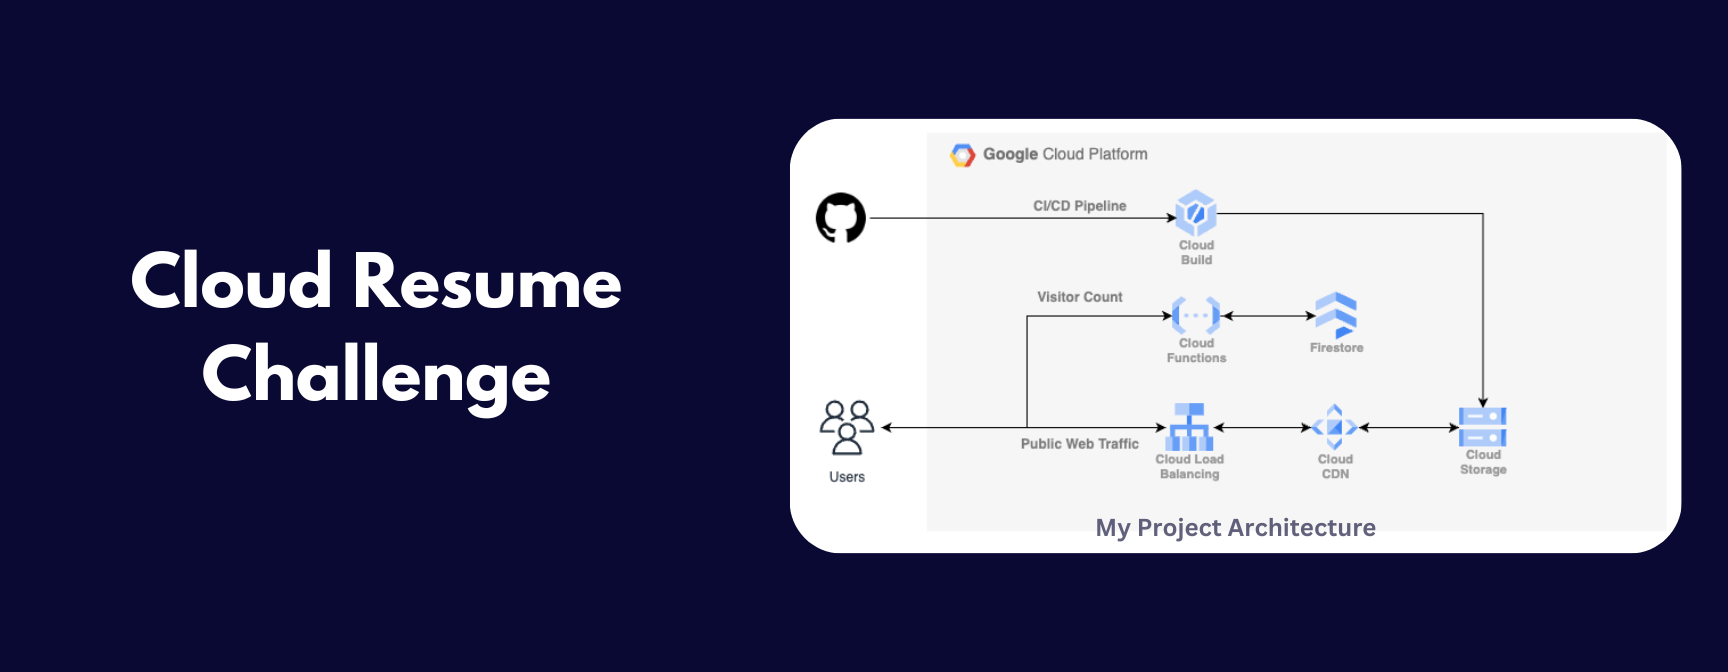
Cloud Resume Challenge: Taking My Portfolio to the Cloud
In this post, I'm sharing my experience hosting my portfolio website on Google Cloud Platform (GCP). I took on the Cloud Resume Challenge and learned a ton about using services like Cloud Storage, Cloud CDN, Cloud Functions, and more. Check it out to see how I built a scalable and performant website in the cloud!
What is the Cloud Resume Challenge?
The Cloud Resume Challenge is a hands-on project designed to help you learn and demonstrate practical cloud skills. It guides you through building a real-world resume website and deploying it to the cloud, covering key concepts and technologies that are highly sought after in the industry.
The Challenge Steps:
The core steps of the Cloud Resume Challenge involve:
- Building a Resume: Creating a resume in HTML.
- Static Website Hosting: Deploying the resume as a static website on a cloud storage service (like AWS S3 or Google Cloud Storage).
- Content Delivery Network (CDN): Using a CDN to improve website performance and reduce latency.
- HTTPS: Securing the website with HTTPS.
- Dynamic Visitor Counter: Implementing a dynamic visitor counter using a database and a serverless function.
- Infrastructure as Code (IaC): Automating the deployment process using tools like Terraform or CloudFormation.
- CI/CD Pipeline: Setting up a continuous integration and continuous delivery pipeline to automatically deploy changes.
While the challenge might seem daunting at first, it's broken down into manageable steps that allow you to learn at your own pace. The official Cloud Resume Challenge website provides detailed instructions and resources to help you succeed.
How I Implemented It: A Step-by-Step Guide
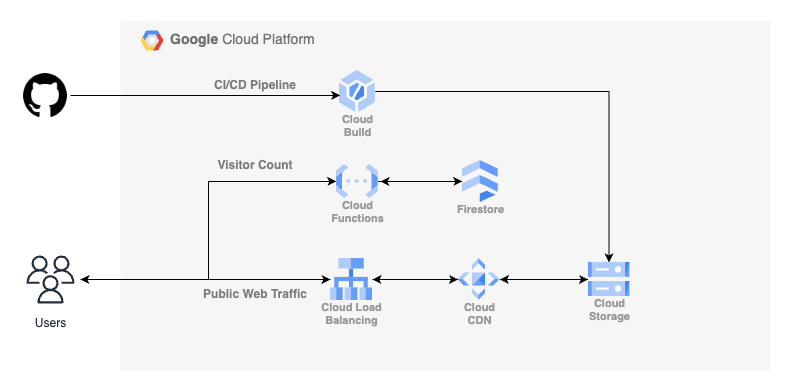
Now that you know what the Cloud Resume Challenge is, let's dive into how I actually built and deployed my portfolio website on Google Cloud Platform (GCP). Here's a breakdown of the key steps, referring to the architecture diagram you see above:
1. Setting Up Static Website Hosting with Google Cloud Storage (GCS):
First, I created a Google Cloud Storage bucket to store all my website's static files (HTML, CSS, JavaScript, images). I configured the bucket for public access so that anyone can view the files. To keep things safe, I also enabled versioning on the bucket, which allows me to easily revert to previous versions if needed. Think of it like having an "undo" button for my website files!
2. Making it Fast with Cloud CDN:
To ensure a snappy experience for visitors around the world, I implemented Cloud CDN (Content Delivery Network). As you can see in the diagram, Cloud CDN sits in front of my Cloud Storage bucket. It caches my website content on Google's global network, so users get the content from a server that's geographically close to them. This dramatically reduces loading times.
3. Securing the Site and Setting Up the Domain with HTTP(S) Load Balancer:
To make my website accessible via my custom domain and secure with HTTPS, I used an HTTP(S) Load Balancer. As "Public Web Traffic" indicates in the diagram, user requests go through the Load Balancer. The Load Balancer handles incoming traffic, terminates SSL/TLS encryption (making the connection secure), and directs traffic to Cloud CDN.
4. Dynamic Visitor Counter with Cloud Functions and Firestore:
Adding a dynamic visitor counter was a fun challenge! Whenever someone visits my website, their browser triggers a Cloud Function (a serverless function written in Node.js). This function then interacts with Firestore, a NoSQL database, to increment the visitor count. The updated count is then displayed on the webpage. As you can see on the top of the architecture, a "Visitor Count" that has bidirectional arrows demonstrating User visiting/incrementing and displaying on the user Interface to display the counter.
5. Automating Deployments with Cloud Build:
To automate the deployment process, I set up a CI/CD (Continuous Integration/Continuous Delivery) pipeline using Cloud Build. Whenever I push new code to my GitHub repository (shown on the left of the diagram), Cloud Build automatically builds and deploys the updated website to my Cloud Storage bucket. The diagram shows this connection from Github Repository -> Cloud Build -> Cloud Storage
By using these GCP services, I was able to create a robust, scalable, and secure portfolio website. The architecture diagram provides a visual overview of how everything works together!
Conclusion
Taking on the Cloud Resume Challenge was an incredibly rewarding experience. I not only gained hands-on experience with Google Cloud Platform, but I also learned a ton about building and deploying a real-world application in the cloud.
I'm excited to continue exploring the possibilities of GCP and to apply what I've learned to future projects. The cloud is constantly evolving, and I'm eager to keep learning and growing my skills. Thanks for reading about my journey!
Comments
Leave a Comment
Please sign in to comment.